Drying Herbs
Herbs are not only a delightful addition to our gardens but also a valuable resource in the kitchen, crafts, and displays. The secret to maximizing their benefits lies in knowing how to properly harvest and dry them. In this guide, we’ll walk you through the steps to ensure your herbs retain their vibrant colours, aromatic scents, and potent flavours long after they’ve been plucked from the garden.
Step 1: Choosing the Right Herbs for Drying
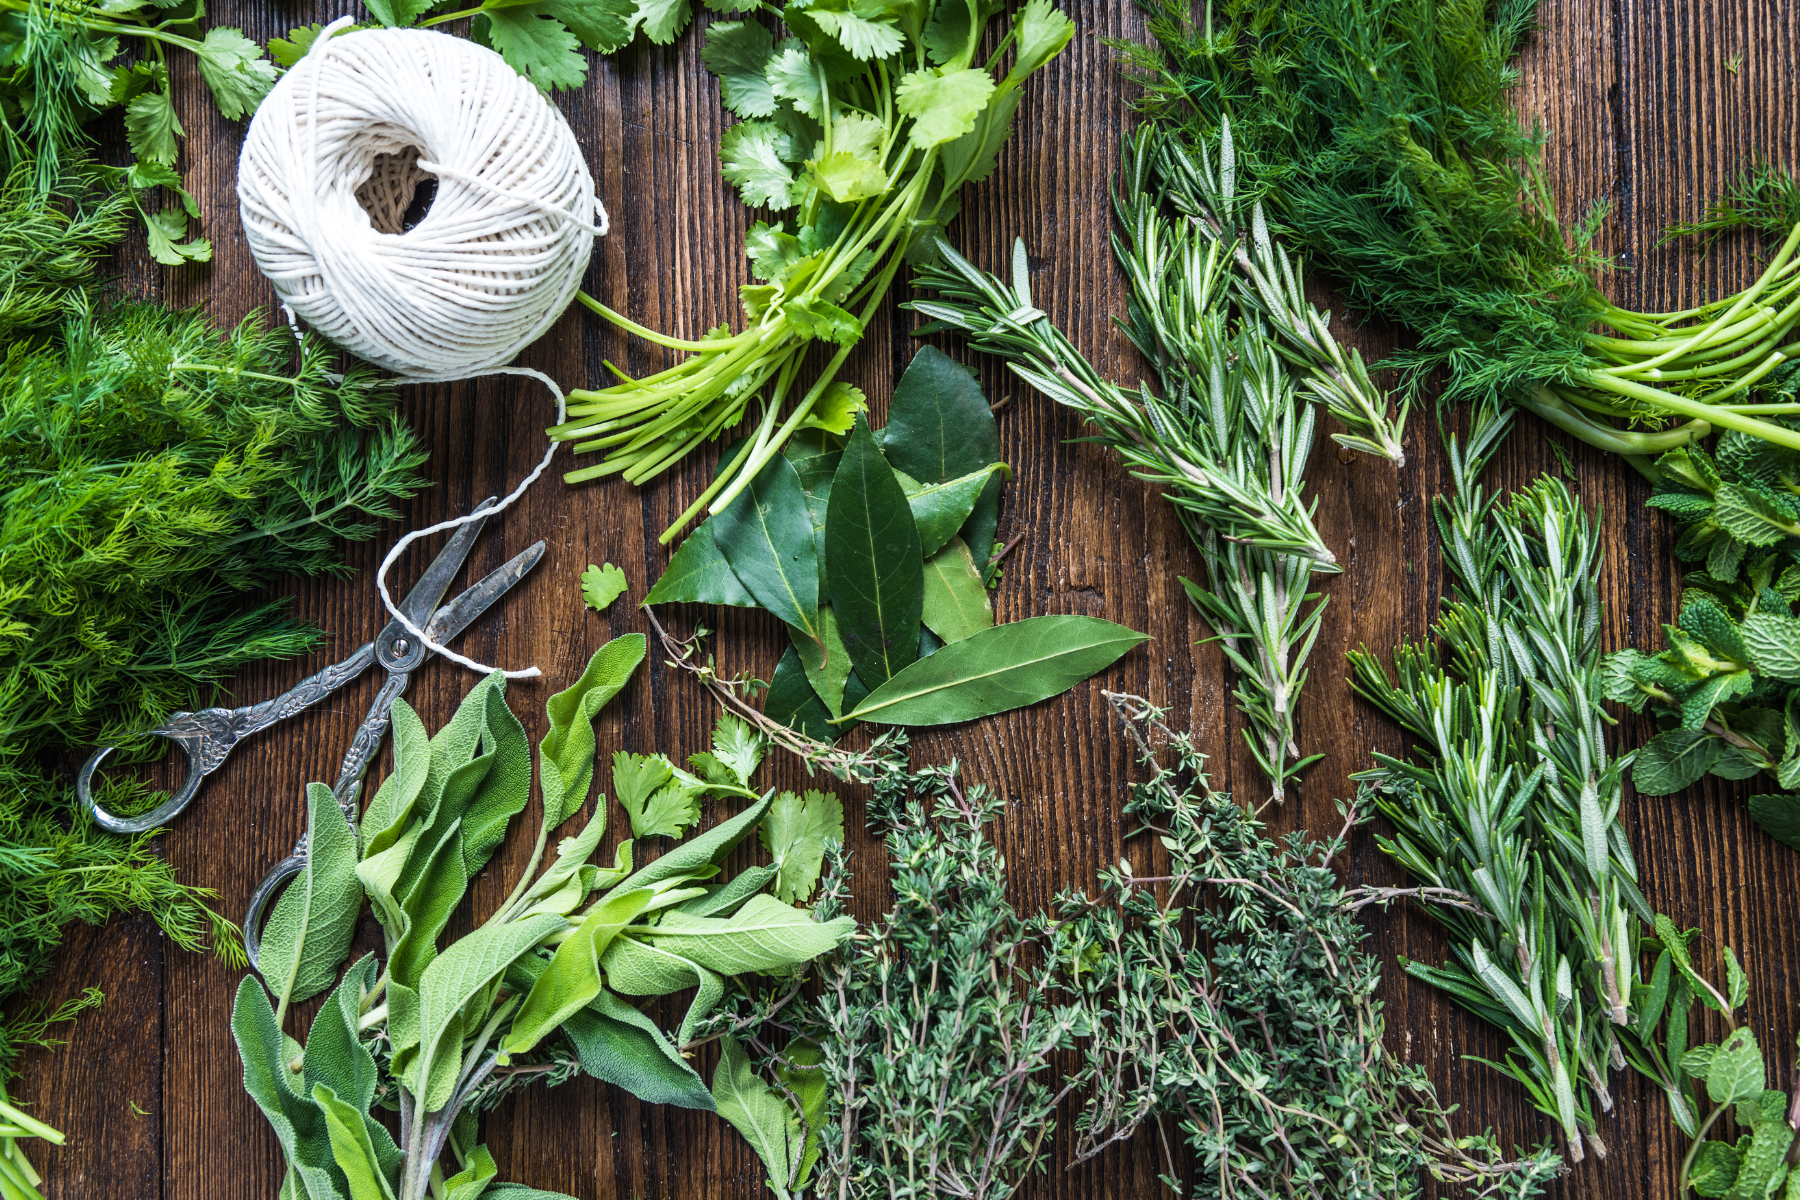
Not all herbs are created equal when it comes to drying. Opt for herbs with sturdier leaves, such as Bay, Rosemary, Thyme, and Sage. These varieties tend to maintain their colour and texture better during the drying process. On the other hand, more delicate herbs like Basil, Parsley, Mint, and Tarragon require extra care to prevent moisture-related issues.
Step 2: Perfect Timing for Harvest
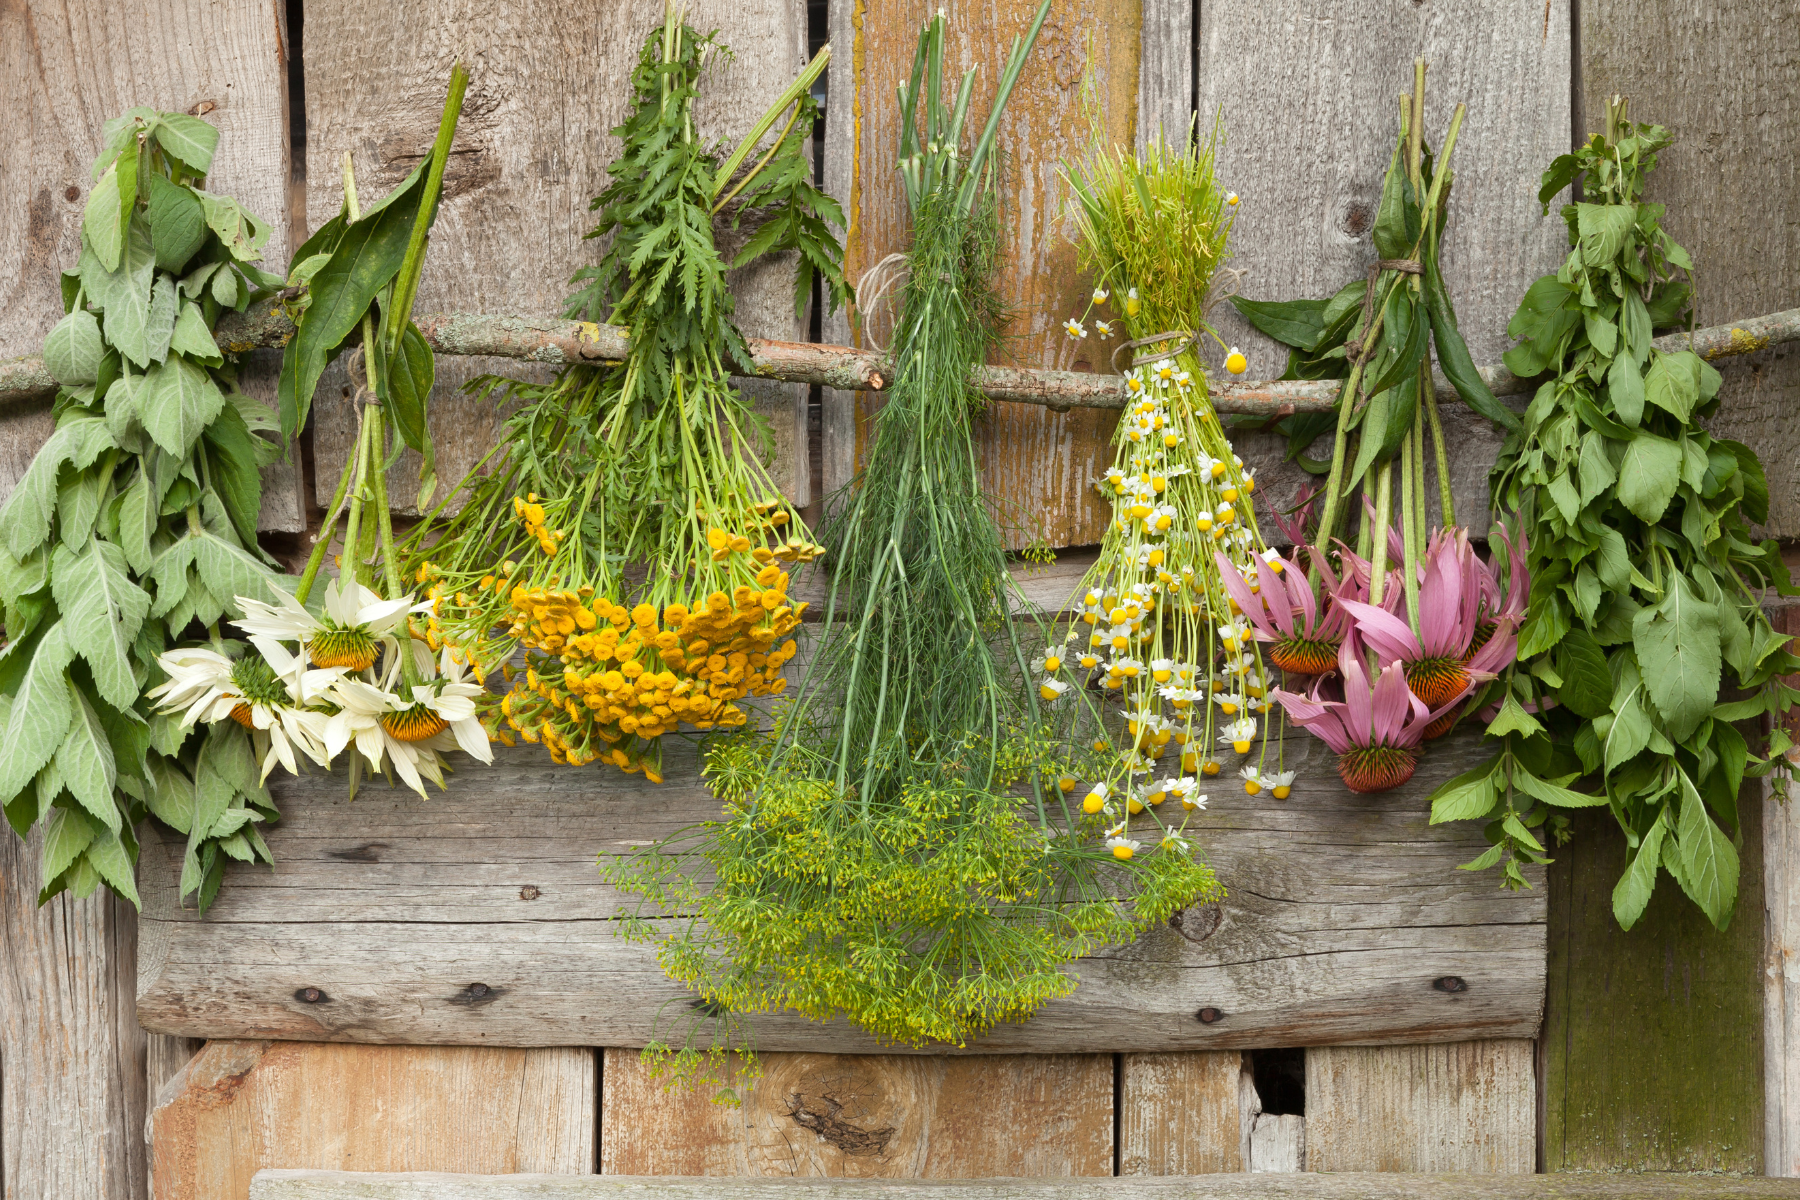
Timing is crucial when harvesting herbs. If you’re growing herbs indoors, you have the flexibility to harvest them at any time. However, if your herbs are outdoors, it’s best to wait until the morning dew has evaporated and the hot sun hasn’t yet fully emerged (early to mid-morning). Harvesting just before the flowers open and when there are numerous buds is ideal, as this indicates that the herb is ready and likely to retain its shape and flavour after drying. Keep in mind that there are exceptions; for instance, if you’re drying lavender for a flower arrangement, waiting for the flowers to open is essential.
Step 3: Immediate Action After Harvest
Once you’ve picked your herbs, don’t let them linger. Excess moisture and dust can spoil their flavour, appearance, and colour. Start the drying process promptly to preserve their quality.
Step 4: Gentle Cleaning
Before drying, ensure your herbs are clean. Gently rinse them under cool water using a salad spinner or colander. Alternatively, you can briefly soak the herbs in a bowl of cool water. After washing, give the herbs a gentle shake to remove excess water and pluck any bruised or soiled leaves.
Step 5: Choosing the Drying Method
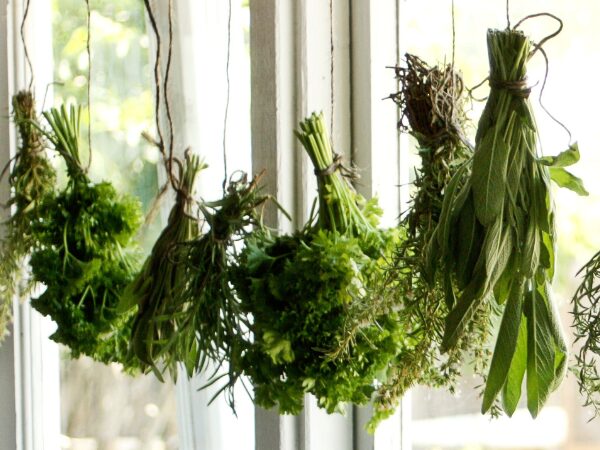
Several methods can be used to dry herbs, each with its own benefits. Indoor air drying is a preferred method as it shields herbs from the elements and helps them retain their shape, flavour, and colour. For indoor air drying, you can use a hanging rack or a drying screen. If space is limited, the drying rack method is particularly suitable, especially for tender-leaved herbs.
Step 6: Air Drying Process
For indoor air drying, follow these steps:
Bundle a small number of herbs together with twine or a rubber band.
Hang the bundles upside down in a cool, dry, and well-ventilated area.
Avoid direct sunlight, as it can cause the herbs to lose their colour and flavour.
Wait patiently; drying times may vary depending on the herb and humidity levels.
Step 7: Testing for Dryness
Check for dryness by touching the leaves; they should crumble easily. Once fully dried, remove the leaves from the stems and store them in airtight containers away from heat and light. Remember to label the containers with the herb’s name and the date of drying.
By following these steps, you’ll master the art of harvesting and drying garden herbs, ensuring that your culinary creations, crafts, and displays are enriched with the captivating scents and flavours only fresh herbs can offer. So, dive into the world of herb preservation and elevate your gardening experience to new heights!
Enhancing Flavors: Infusing Herbs in Oil
Beyond the realm of dried herbs, another enchanting way to capture their essence is by infusing them in oil. Herb-infused oils not only add depth to your culinary endeavours but also open up a world of possibilities for natural skincare and aromatherapy. Here’s a glimpse into the art of infusing herbs in oil to elevate your herb gardening experience.
Step 8: Infusing Herbs in Oil
Infused oils are a delightful fusion of nature’s aromatic herbs and the silky embrace of oil. To create your own herb-infused oil:
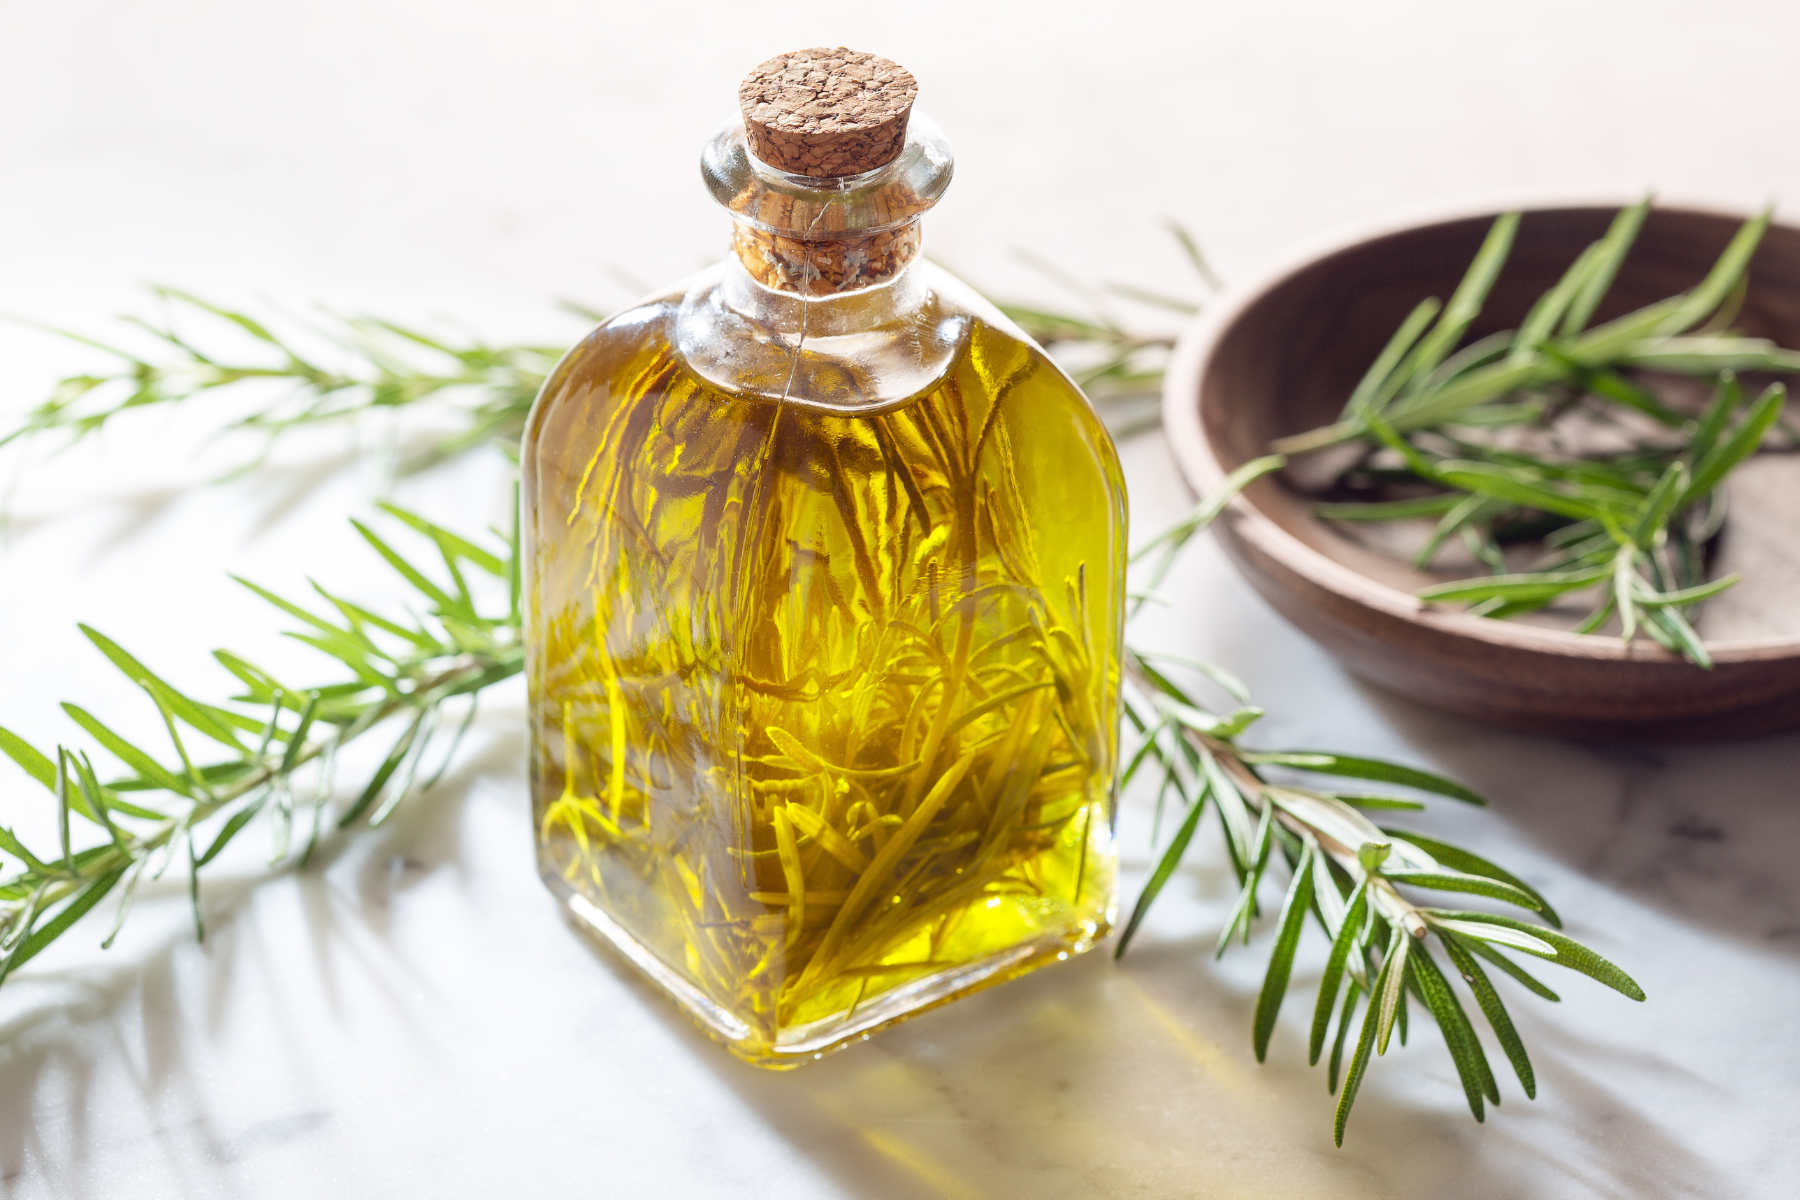
Choose Your Herbs: Select herbs with robust flavours and scents, such as Rosemary, Basil, Thyme, or Lavender. Rinse and pat them dry to remove any excess moisture.
Select Your Oil: Opt for a neutral oil like coconut, grapeseed, or sunflower oil. The oil acts as a carrier, gently absorbing the herb’s flavours and fragrances.
Preparing the Herbs: Roughly chop the herbs to increase the surface area for infusion. This will help the oil extract the herbs’ essential oils more effectively.
Infusion Process: Place the chopped herbs in a clean, dry glass jar. Cover them with the selected oil, ensuring all the herbs are submerged. Seal the jar tightly.
Sunlight or Warmth: Let the jar sit in a warm, sunny spot for about 1-2 weeks. The sun’s gentle warmth will coax out the herbs’ essence, infusing the oil with their rich flavours.
Straining: After the infusion period, strain the oil through a fine mesh sieve or cheesecloth into a clean bottle. Ensure there are no herb particles left behind.
Step 9: Culinary and Beyond
Your freshly infused herb oil is now ready to enhance your culinary creations. Drizzle it over salads, pasta, or roasted vegetables to elevate your dishes with a burst of natural flavours. Additionally, herb-infused oils can be incorporated into homemade skincare products or used for soothing massages, harnessing the calming qualities of herbs.
Step 10: Storage and Shelf Life
Store your herb-infused oil in a cool, dark place to preserve its potency. Depending on the herbs and oil used, infused oils generally have a shelf life of several months to a year. Be sure to monitor the oil for any signs of spoilage, and if you notice an off smell or unusual appearance, it’s best to discard it.
Infusing herbs in oil is an artful way to prolong the enjoyment of your garden’s bounties. As you experiment with different herbs and oils, you’ll discover the unique symphony of scents and flavors that nature has to offer, enriching your culinary adventures and daily rituals.